Over the last several days I Match drilled the aft torque tube subassemblies to the WD-1014C torque tubes according to the plans on page 23-6. I took special care in the "clocking" of the left and right assemblies. When they were match drilled, I final drilled them out to #12 and took them apart for deburring. Next, I installed the turque tube subassemblies onto the wing roots and bolted them on. One washer was needed per side to take the "play" out of the assemblies (step 4 page 23-7). Then I installed the W-1017 torque tubes through the wings and attached them to the aileron bellcranks and the torque tube subassemblies. Finally, I set the neutral position of the setup using the W-730 bellcrank jig and adjusting the rod end bearings on the W-1017 torque tubes. When that was finished I installed the W-1018 bellcrank to aileron pushrods. I attached the pushrods to ailerons, then to the bellcranks inside the wings. Then I clamped the ailerons to the flaps (with flaps in their full up position) and used the W-730 aileron bellcrank jig again to set neutral on the ailerons. This is done by adjusting the rod end bearings on the pushrods so that the bellcrank jig rests in its correct position to set "neutral".
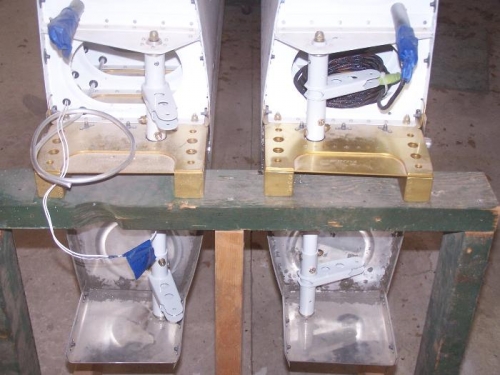
Torque tube subassemblies installed.
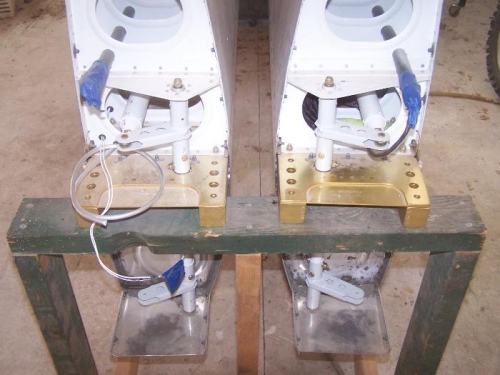
Torque tubes attached.
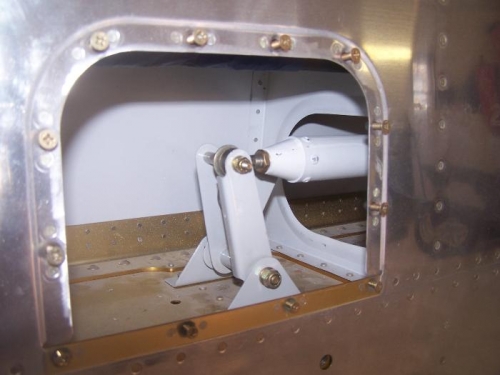
In-wing shot of bellcrank with torque tube attached.